
Connect to data by using connectors
Connecting to a data source is usually the first requirement in building a canvas app in Power Apps. How this happens depends on how the developer chooses to begin the build process. As noted elsewhere in this chapter, the Create page in the Power Apps portal provides three ways to create a canvas app:
■ Start with a blank app
■ Start with a data source
■ Start from a template
Starting with a blank app
If a developer chooses to begin from scratch by selecting the Canvas app from blank tile on the Create page, the recommended first step is to navigate to the Data sources pane. This pane lists any current connections that are open, the Common Data Service entities that are available, if any, and lists all the available connectors, as shown in Figure 4-21.
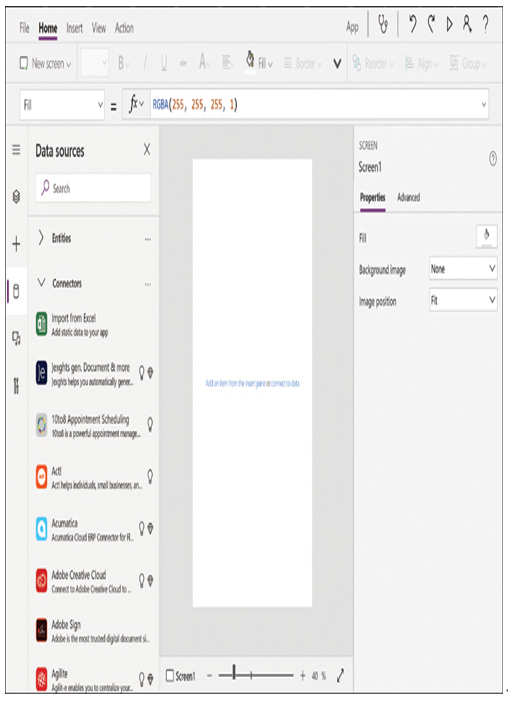
FIGURE 4-21 Connectors available in the Data sources pane
Depending on the nature of the connector, the developer selecting it will be presented with an interface providing access to the application or service. For example, if the developer selects the Import from Excel connector, a standard combo box appears, enabling the selection of an Excel file from a local or network drive. If the developer selects the connector for a subscription-based online service, a window appears, prompting for user account credentials, as shown in Figure 4-22.
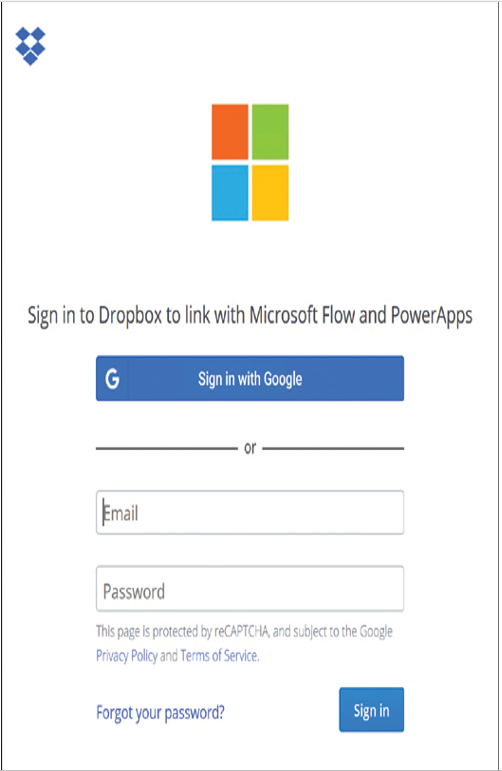
FIGURE 4-22 Sign-in pop-up window for a connector authentication
After the connection with the data source is established, the developer can begin building the app by adding controls to the app screens. There is nothing to prevent the developer from designing the app screens and adding controls before the data source connection is in place, but only the cosmetic aspects of the controls will function.